Renovating a condo bathroom is a fantastic way to enhance your living space while increasing the value of your property. However, condo renovations come with unique challenges, including strict association rules and space limitations. This guide provides a comprehensive roadmap to help you successfully plan and execute your condo bathroom renovation.
Before starting your project, familiarize yourself with the rules and regulations set by your condo association. These rules often cover:
Work Hours: Restrictions on when renovation work can occur to minimize disruption for neighbors.
Noise Levels: Guidelines on acceptable noise levels during the renovation.
Material Approval: Specific materials or finishes that might be restricted.
Permits: Requirements for submitting renovation plans and obtaining permits from the association and local authorities.
Consult your condo association early to understand their expectations and avoid costly mistakes. Request a written list of guidelines to reference throughout your project.
Establishing a clear budget is critical for managing your renovation. Key expenses to consider include:
Labor Costs: Contractors, plumbers, and electricians.
Materials: Tiles, fixtures, countertops, and cabinetry.
Design Services: If hiring an interior designer.
Unexpected Expenses: Allocate 10-15% of your budget for unforeseen issues like plumbing or structural repairs.
Saving tip: Opt for mid-range materials that offer durability and style without breaking the bank. Reuse existing fixtures if they are in good condition.
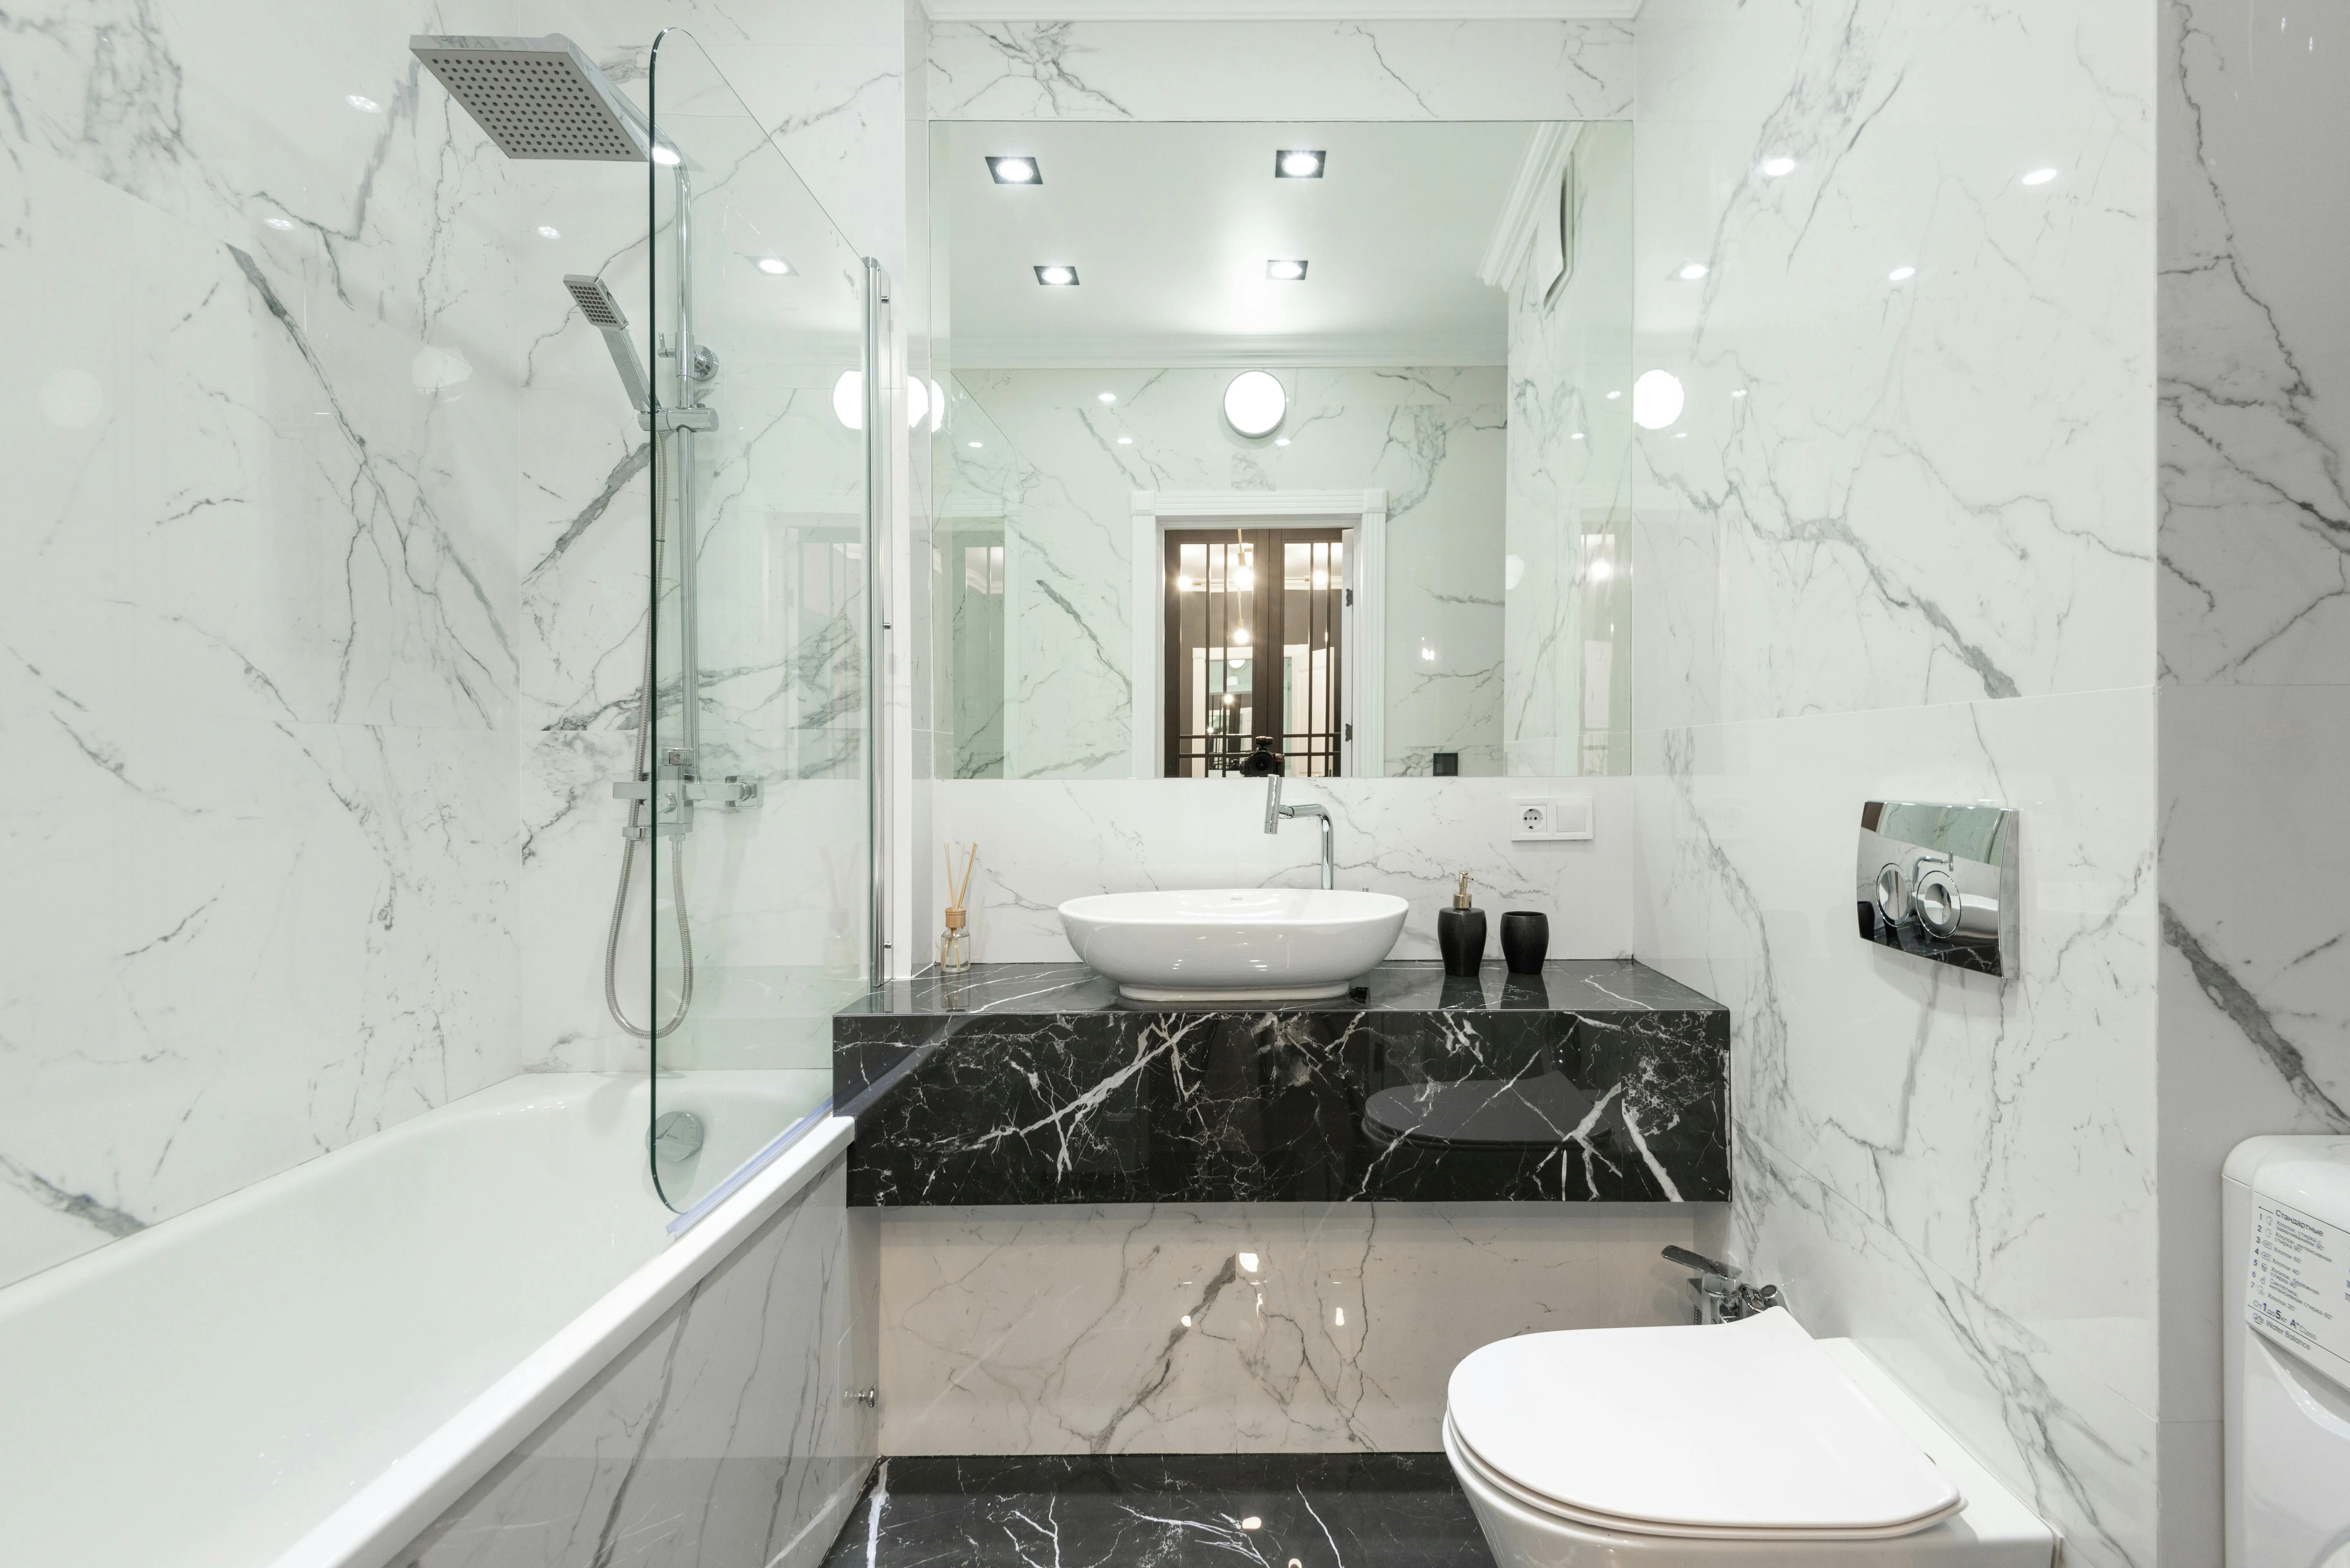
A well-thought-out design maximizes functionality and style. Begin by evaluating your bathroom’s layout and exploring design trends, such as:
Minimalist Aesthetics: Clean lines, neutral tones, and uncluttered spaces.
Modern Touches: Floating vanities, frameless glass showers, and matte black fixtures.
Luxury Features: Heated floors, rain showers, and backlit mirrors.
Consider the flow of your bathroom. Ensure key elements like the toilet, sink, and shower are conveniently placed. Use 3D design tools to visualize the space before committing to a layout.
Selecting the right materials and fixtures is essential for durability and aesthetics. Consider:
Tiles: Porcelain or ceramic tiles for durability and ease of maintenance.
Countertops: Quartz for a sleek, modern look.
Fixtures: Water-efficient faucets and toilets to save on utility bills.
Choose light-colored materials to make small bathrooms appear larger. Use textured finishes to add depth and visual interest.
Hiring experienced professionals ensures the success of your renovation. Look for:
Licensed Contractors: Verify credentials and request references.
Specialized Expertise: Professionals familiar with condo renovations and building regulations.
Clear Communication: Choose contractors who provide detailed project timelines and budgets.
Interview multiple contractors to compare quotes and ensure their understanding of condo-specific requirements. Request a written agreement outlining the scope of work.
A bathroom renovation typically follows these steps:
Demolition: Remove old fixtures, tiles, and cabinets.
Plumbing and Electrical Work: Update or relocate pipes and wiring as needed.
Tiling: Install floor and wall tiles.
Fixture Installation: Fit new vanities, sinks, and showers.
Finishing Touches: Add accessories, paint, and final details.
| Phase | Estimated Duration |
|---|---|
| Planning and Permits | 2-4 weeks |
| Demolition | 1 week |
| Plumbing and Electrical | 1-2 weeks |
| Tiling and Installation |
2-3 weeks |
| Final Touches | 1 week |
Adjust timelines based on the size and complexity of your project.
Small condo bathrooms require creative solutions to make the most of limited space. Consider:
Built-in Storage: Recessed shelves or cabinets to save floor space.
Compact Fixtures: Wall-mounted sinks and toilets to free up room.
Smart Lighting: Use mirrors and layered lighting to create the illusion of a larger space.
Install sliding doors instead of traditional ones to save space.
Use multi-functional furniture, like a vanity with integrated storage.
Compliance with local building codes is non-negotiable. Work with your contractor to:
Ensure proper plumbing and electrical installations.
Use approved materials for fire safety and durability.
Keep documentation for inspections and approvals.
Request a final inspection to ensure the renovation meets all standards before closing the project.
After completing your renovation, proper maintenance is key to preserving your bathroom’s condition. Follow these tips:
Regular Cleaning: Use non-abrasive cleaners to prevent damage.
Mold Prevention: Ensure adequate ventilation to reduce moisture buildup.
Surface Protection: Use sealants to prolong the life of tiles and countertops.
| Task | Frequency |
|---|---|
| Clean tiles and grout | Weekly |
| Inspect plumbing | Monthly |
| Reseal surfaces | Annually |
| Replace worn fixtures |
As needed |
Renovating a condo bathroom can transform your space and enhance your lifestyle. By understanding condo regulations, planning meticulously, and working with the right professionals, you can achieve a functional and stylish bathroom that adds lasting value to your home.